
The Wayunki: A Unique Overtone Instrument for Sound Healing, Meditation, and Musical Expression

Every so often, a musical instrument appears that feels entirely new—not simply because of the sound it produces, but because of the experience it offers. The Wayunki is one of those rare instruments.
With its rich overtones, vocal-like modulation, and intuitive playing style, the Wayunki creates an immersive sonic experience that sits somewhere between percussion, overtone singing, and ambient sound design. It has found a home with musicians, sound healers, meditation practitioners, yoga instructors, ceremonial facilitators, and anyone drawn to exploring the relationship between sound and consciousness.
Unlike conventional percussion instruments, the Wayunki invites the player into an active conversation with sound. Every strike produces a complex spectrum of harmonics that can be sculpted through subtle movements of the mouth, tongue, jaw, and breath cavity. The result is an instrument that feels remarkably alive—capable of producing textures that continuously evolve as you play.
Whether your goal is creating meditative soundscapes, expanding your musical vocabulary, enriching sound healing sessions, or simply discovering an extraordinary new instrument, the Wayunki opens a doorway into a completely different world of sound.
Explore the Wayunki collection at Didge Project:
https://www.didgeproject.com/product/wayunki-various-scales/
What Is the Wayunki?
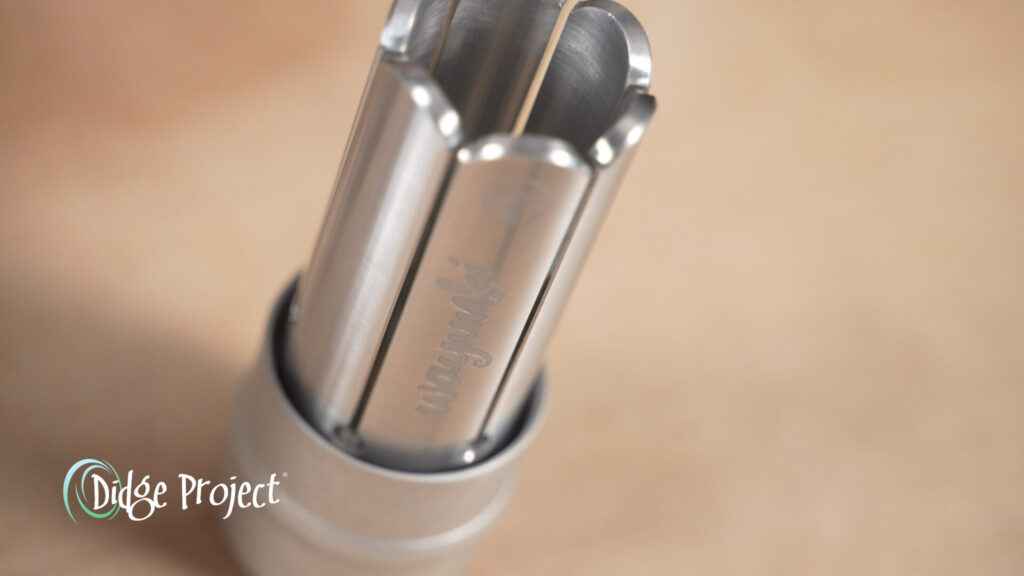
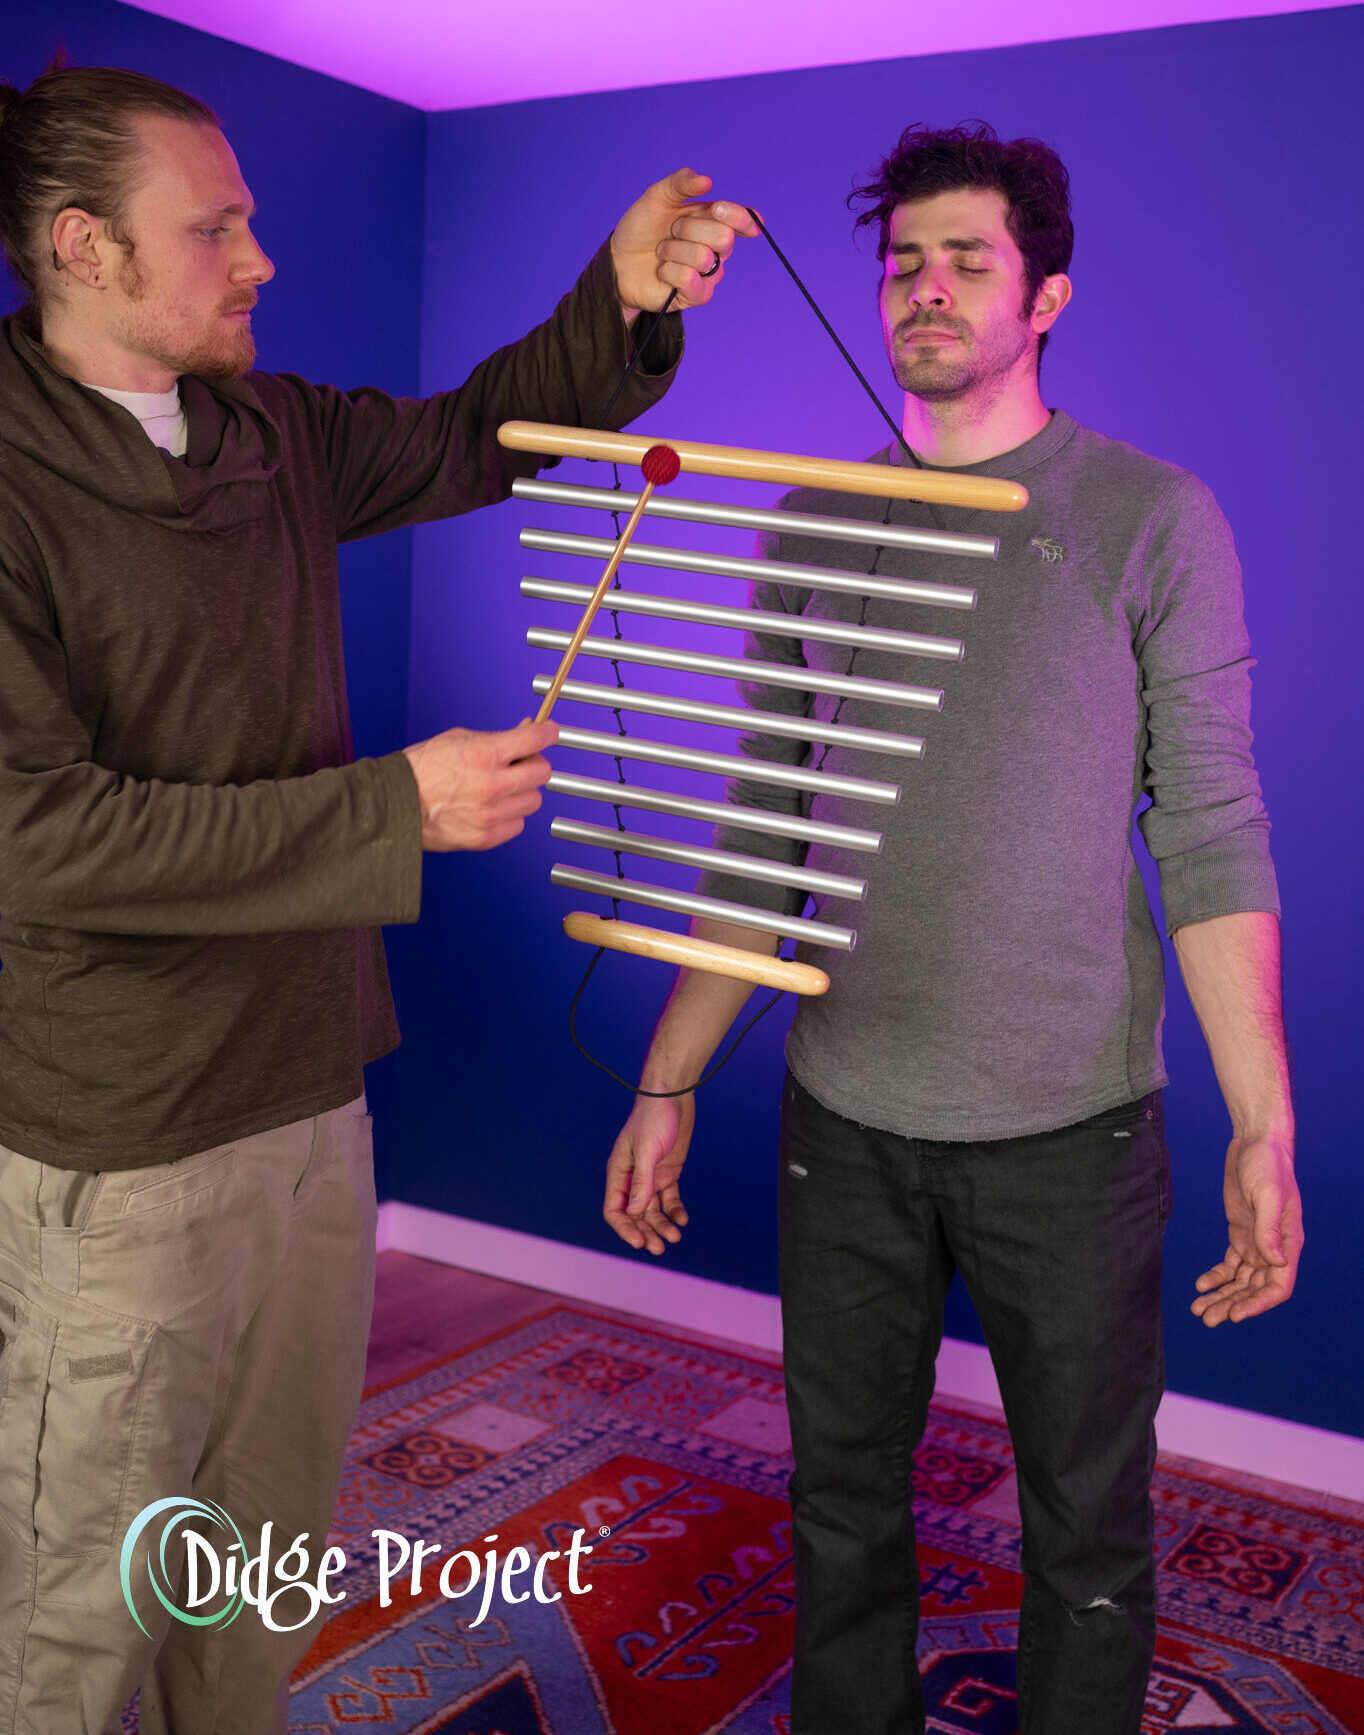
The Wayunki is an overtone modulation instrument made from lightweight aluminum. It is played by striking tuned reeds with a specially designed wooden and silicone mallet. While that description sounds simple, the experience of playing it is anything but.
Each reed produces a strong fundamental pitch along with a rich collection of naturally occurring overtones. These harmonics are always present, but their relative volume changes depending on the shape of the player’s oral cavity.
At the opposite end of the instrument is a mouthpiece designed to rest close to the lips. Rather than blowing into the instrument, the player uses the mouth as a resonating chamber. Small movements of the tongue, jaw, lips, cheeks, and throat emphasize different frequencies, producing the Wayunki’s unmistakable vocal-like “wah-wah” effect. The result is an instrument that seems to sing.
Watch our full demo and review of the Wayunki:
Understanding the Science Behind the Sound
Every musical note is made up of more than a single frequency. Alongside the fundamental pitch exists an entire harmonic series—a collection of overtones that vibrate simultaneously.
The Wayunki allows these harmonics to become part of the musical performance.
As the player changes the size and shape of the mouth cavity, different frequencies resonate more strongly. Certain overtones suddenly emerge while others gently disappear. Instead of changing notes, the player is changing which harmonics become dominant.
This is why the instrument can sound as though it is speaking, breathing, or singing.
Although the underlying acoustics involve resonance, harmonic reinforcement, and overtone selection, players do not need to understand the theory in order to enjoy the instrument. Most people naturally begin discovering these sounds within minutes simply by listening carefully and experimenting.
In many ways, the Wayunki rewards curiosity more than technical knowledge.
An Instrument That Encourages Intuitive Playing
One of the most remarkable qualities of the Wayunki is that there is no single “correct” technique. Some musicians carefully learn how different mouth shapes emphasize particular overtones while others simply play by intuition. Both approaches lead to beautiful music. Unlike many instruments that demand years of technical practice before becoming expressive, the Wayunki offers satisfying musical experiences from the very beginning. As your listening skills develop, the instrument reveals more subtle layers of expression.
Every player gradually develops a unique relationship with the instrument.
Ways to Play the Wayunki
Although most demonstrations begin with striking the reeds using the included mallet, the Wayunki offers many creative playing techniques.
Traditional Playing
Strike individual reeds to create clear, sustained tones while continuously shaping the overtones with the mouth.
Overtone Modulation
Move the tongue, jaw, lips, and oral cavity to bring different harmonics forward. This creates the characteristic vocal quality that makes the Wayunki instantly recognizable.
Ambient Motion
Without placing the instrument against the mouth, slowly rotate, swing, or move it through space. These movements create subtle chorus-like and phasing effects that work beautifully in ambient music.
Layering Multiple Instruments
When several Wayunkis in complementary tunings are played together, their overtones interact to produce lush, evolving harmonic fields. This makes the instrument particularly effective in ensemble settings, meditation concerts, and sound baths.
The Ambient Chime Extension

The optional Ambient Chime Extension greatly expands the Wayunki’s sonic possibilities. The extension screws into the mouthpiece and contains a suspended silicone ball that gently activates the reeds as the instrument is moved. Instead of distinct strikes, the tones emerge gradually in soft waves. The resulting sound is peaceful, spacious, and deeply immersive.
Many practitioners enjoy using the Ambient Chime Extension during:
- Sound baths
- Meditation sessions
- Yoga classes
- Breathwork
- Ceremonies
- Relaxation practices
- Ambient recording sessions
- Sleep and wellness environments
Its continuously evolving textures create an atmosphere that encourages presence, stillness, and deep listening.
The Story Behind the Wayunki
The Wayunki was born in 2018 from a profound experience with sound. During a ceremonial setting, the instrument’s creator encountered powerful overtone-rich vibrations produced by traditional sound instruments. Those sounds inspired a vision to create something entirely new—an instrument that could evoke similarly immersive sonic experiences while developing its own unique voice. Rather than reproducing an existing design, the Wayunki became its own instrument with a completely original playing technique and sound. Today it continues to inspire musicians and listeners around the world.
How Musicians Use the Wayunki
The Wayunki adapts naturally to many musical styles.
It works beautifully in:
- Ambient music
- Meditation music
- World music
- Film scoring
- Improvisation
- Experimental music
- Contemporary percussion
- Sound design
- Electronic music
- Live looping
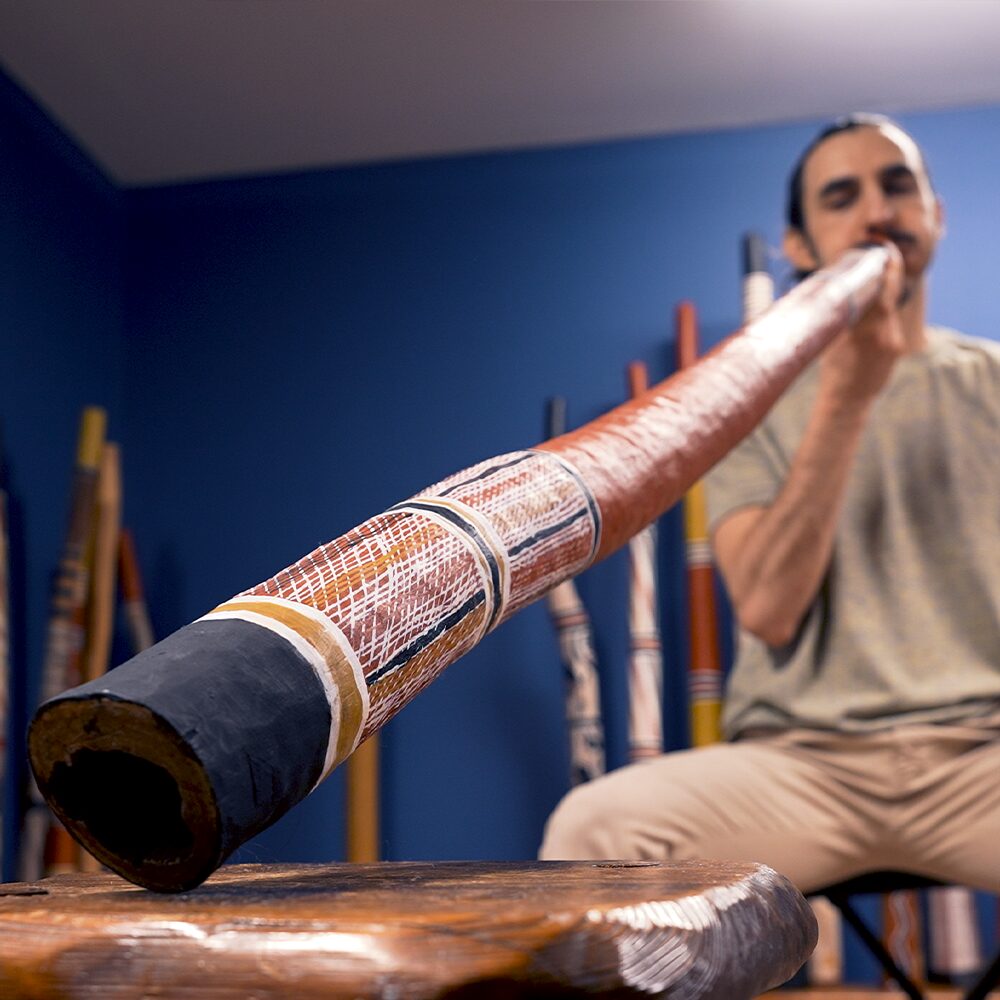
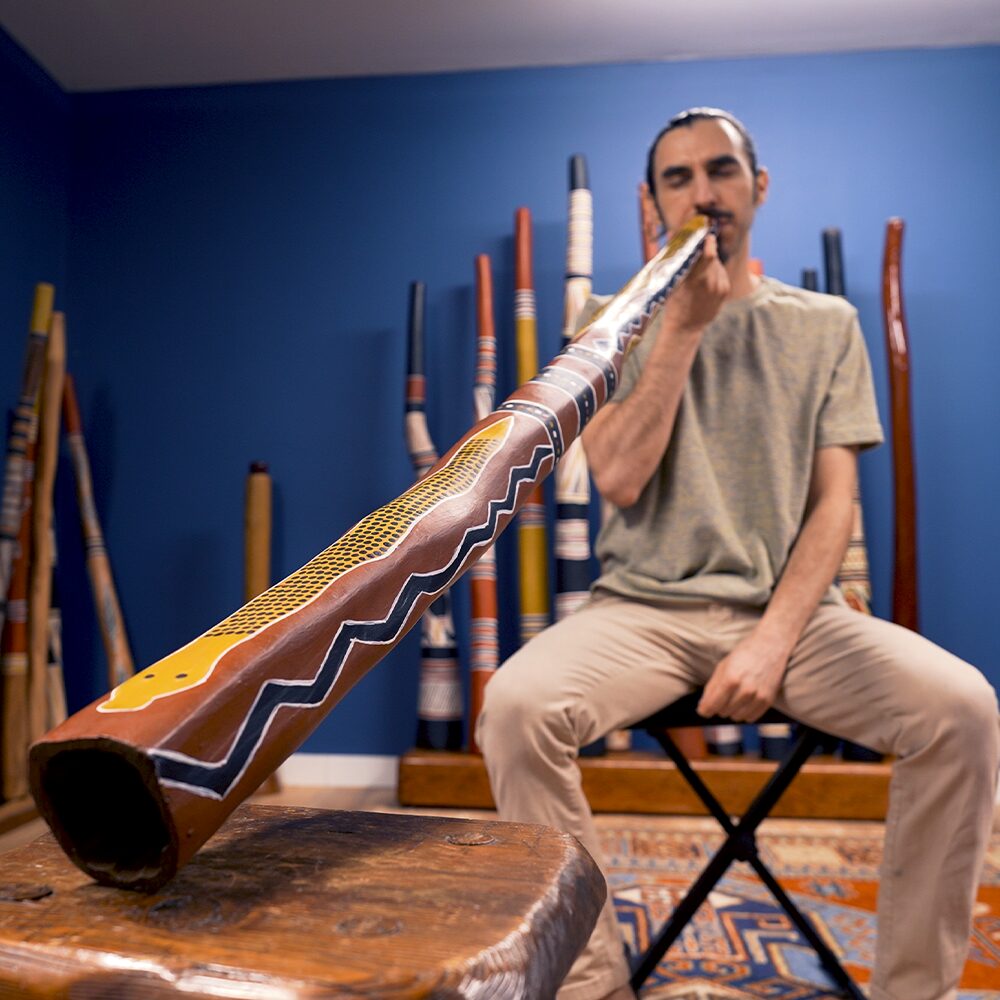
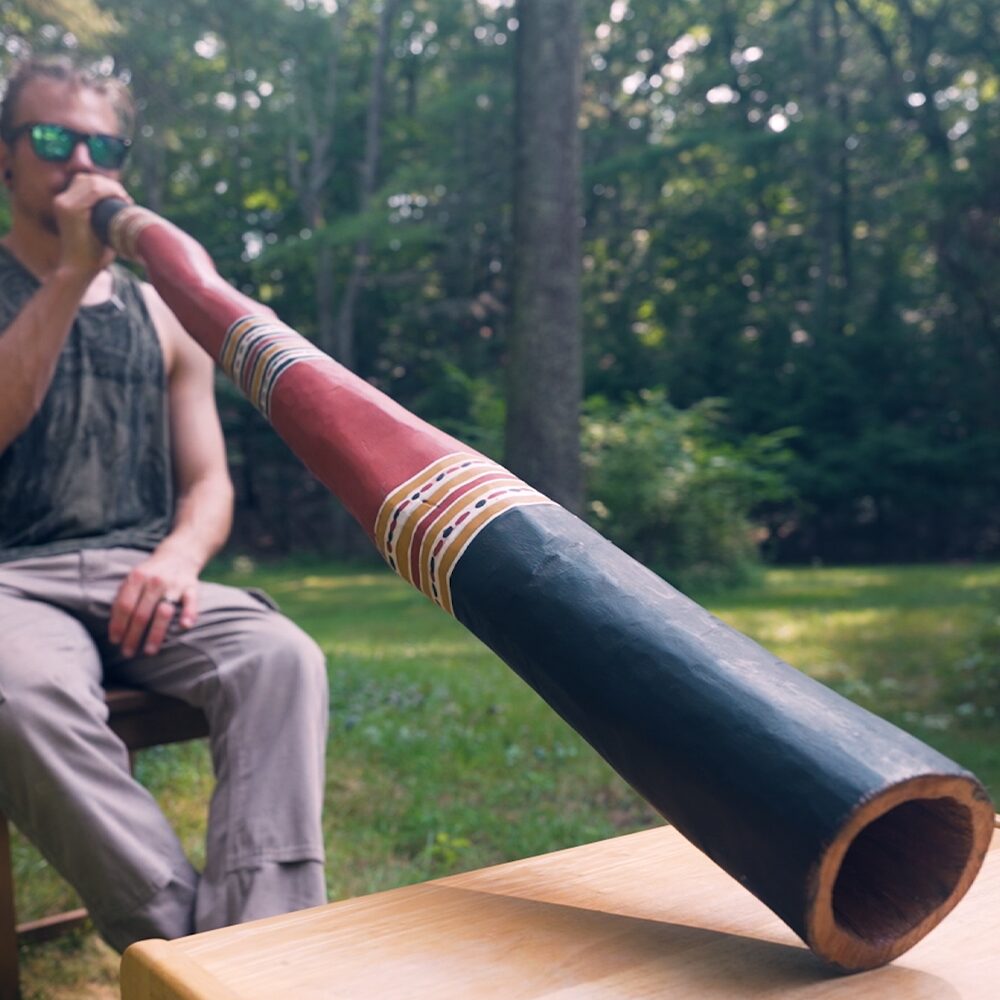
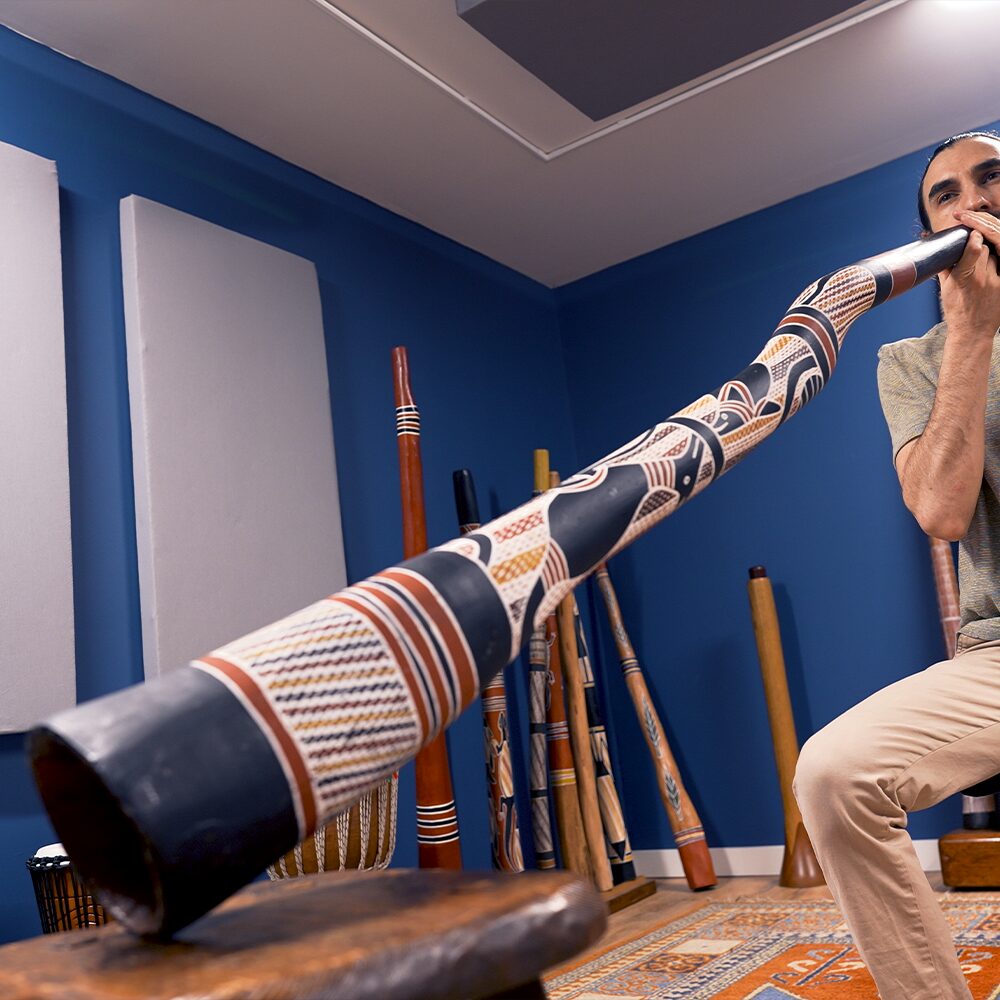
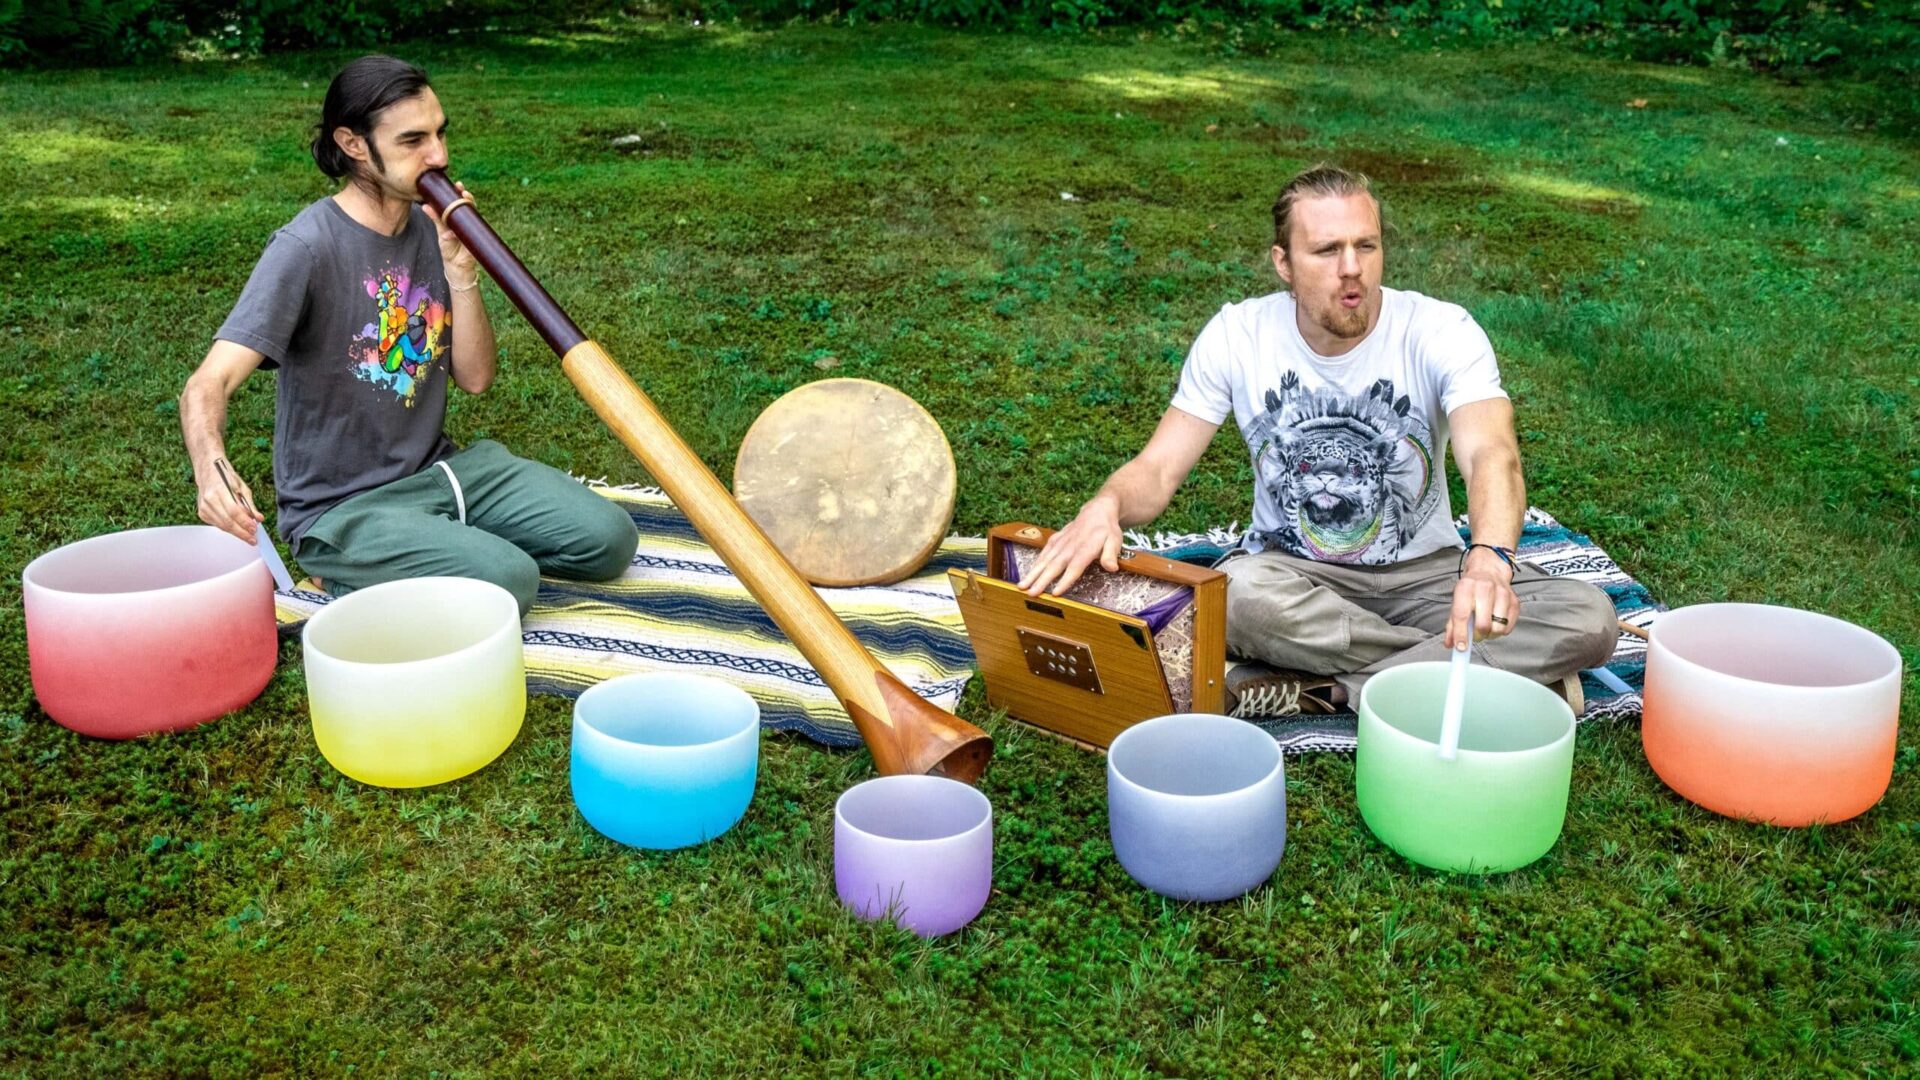
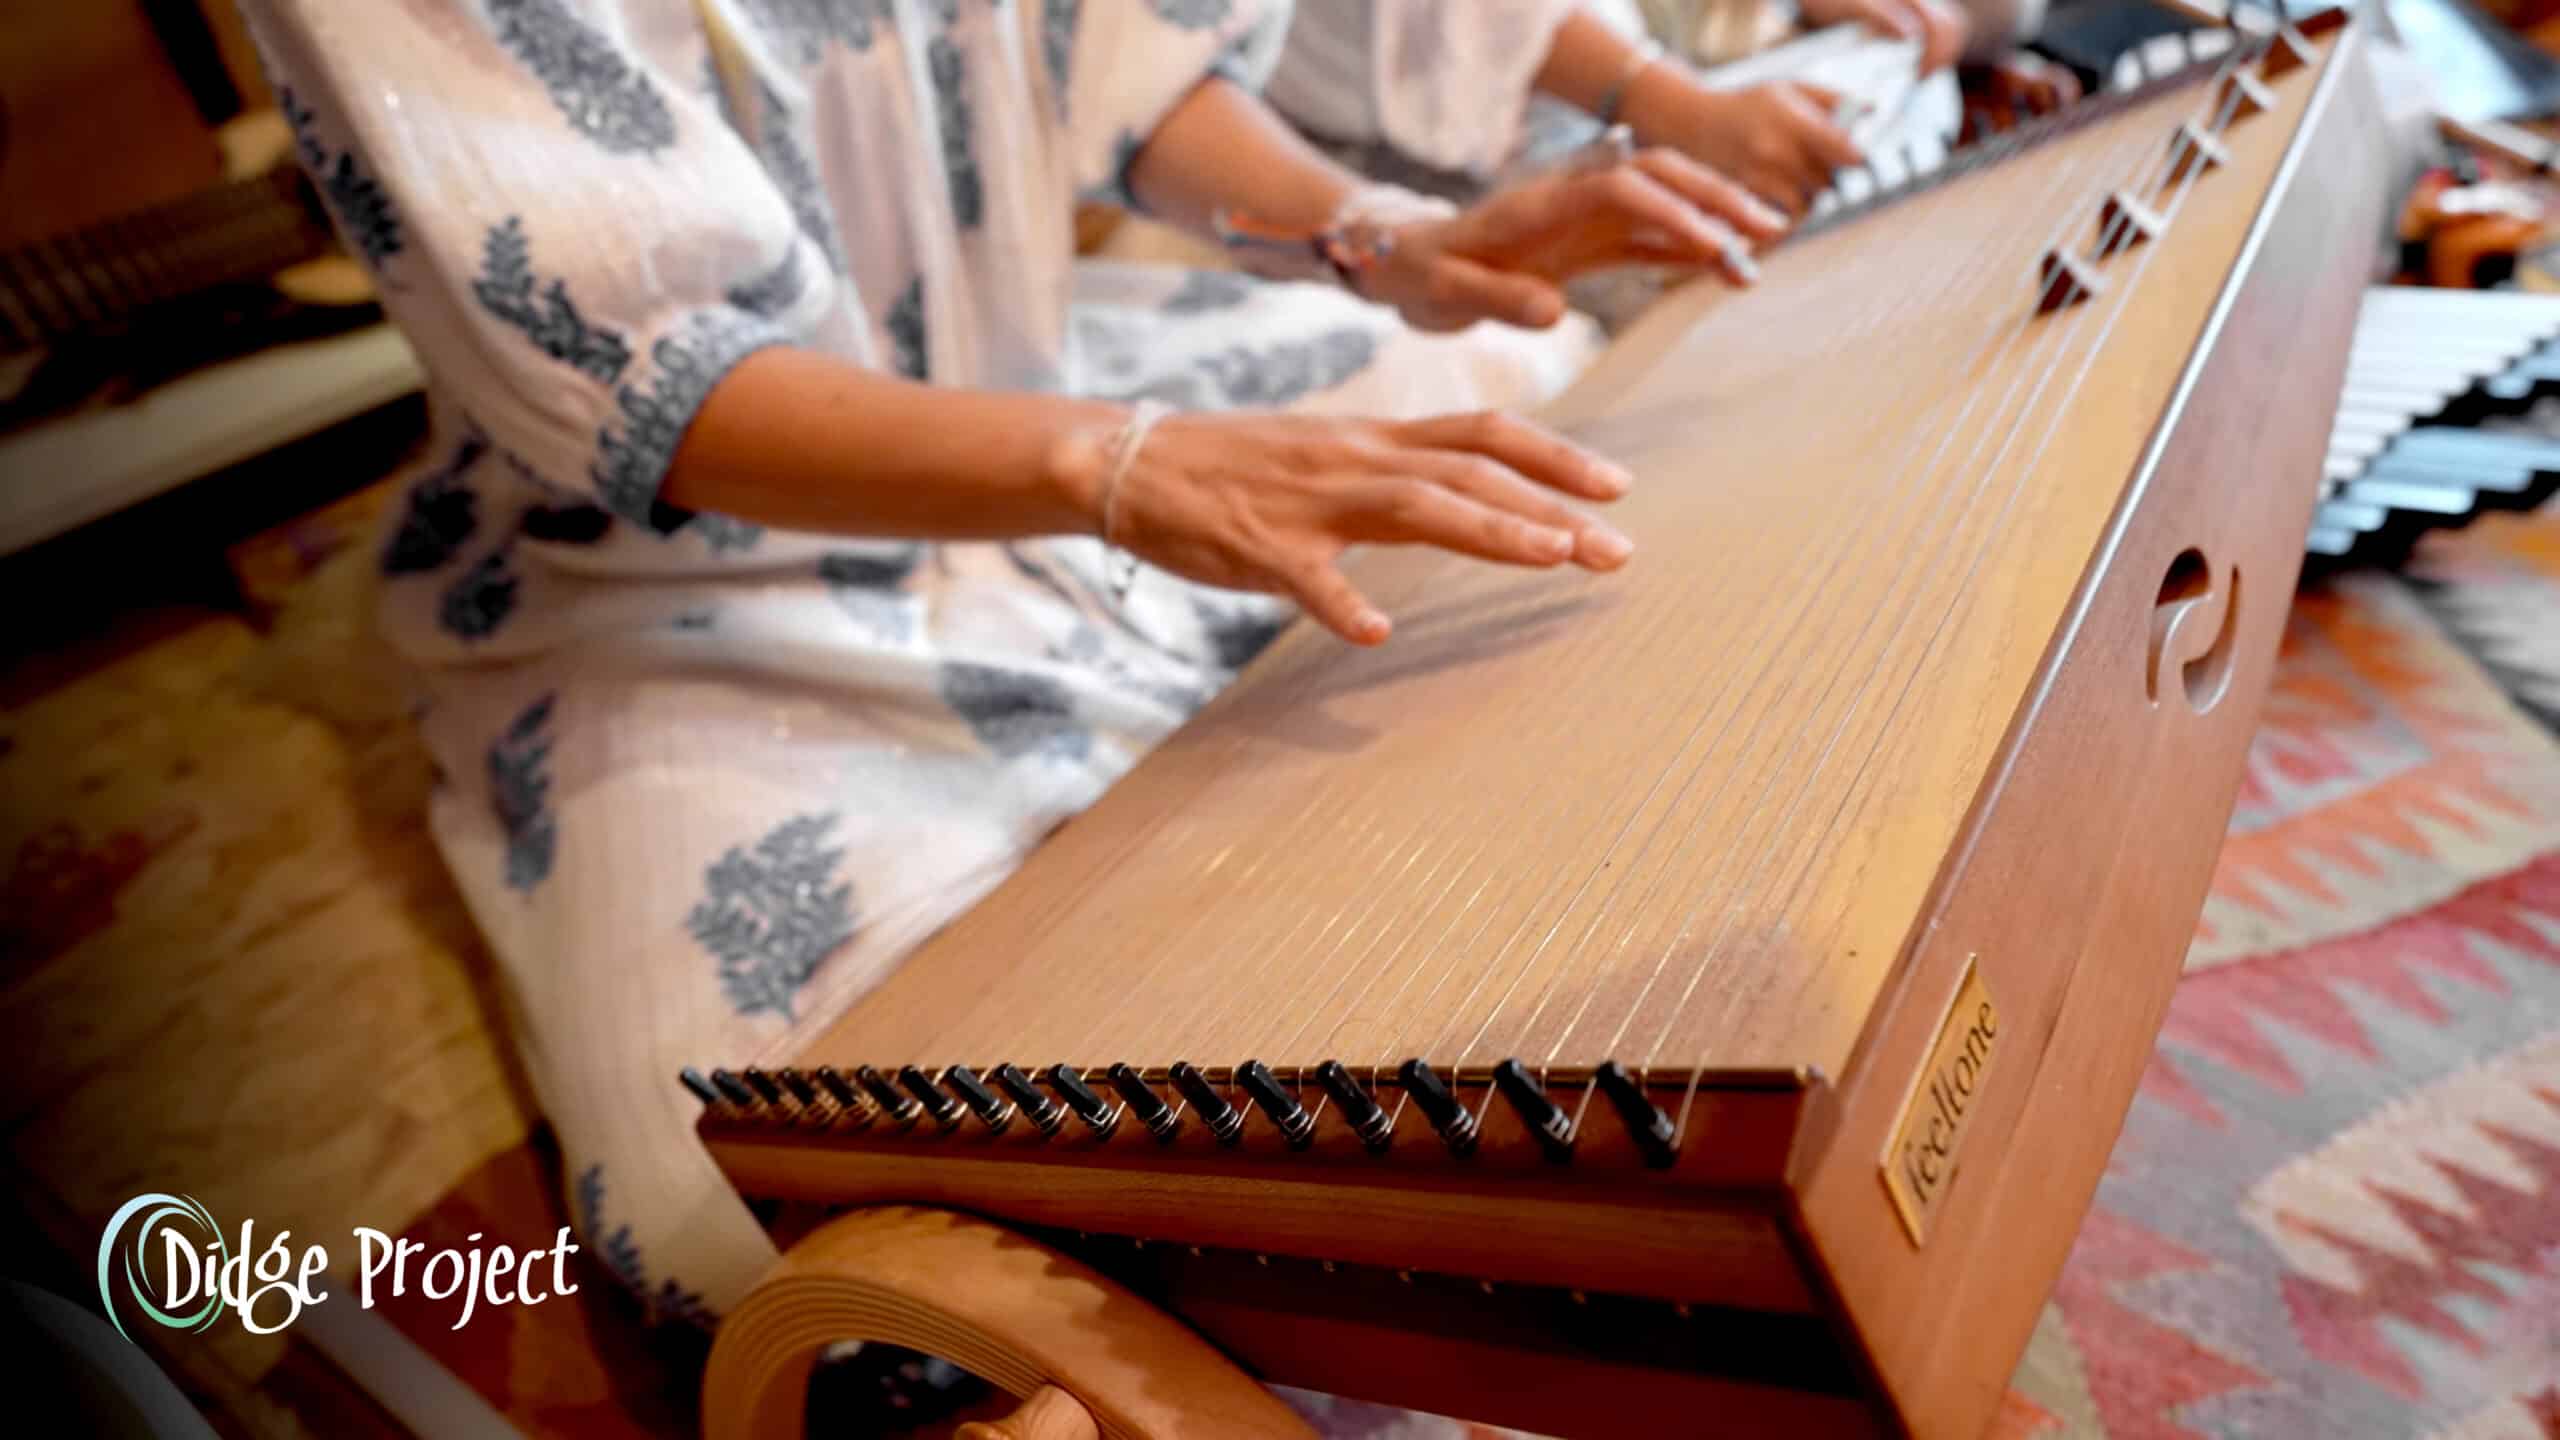
Its overtone-rich voice blends particularly well with didgeridoo, handpan, singing bowls, gongs, flutes, frame drums, shruti box, monochord, kalimba, and other overtone-producing instruments. Because its sound occupies a unique place within the frequency spectrum, it often enhances an ensemble without competing for attention.
Watch this video of Didge Project’s Jerry Walsh beatboxing with the Wayunki:
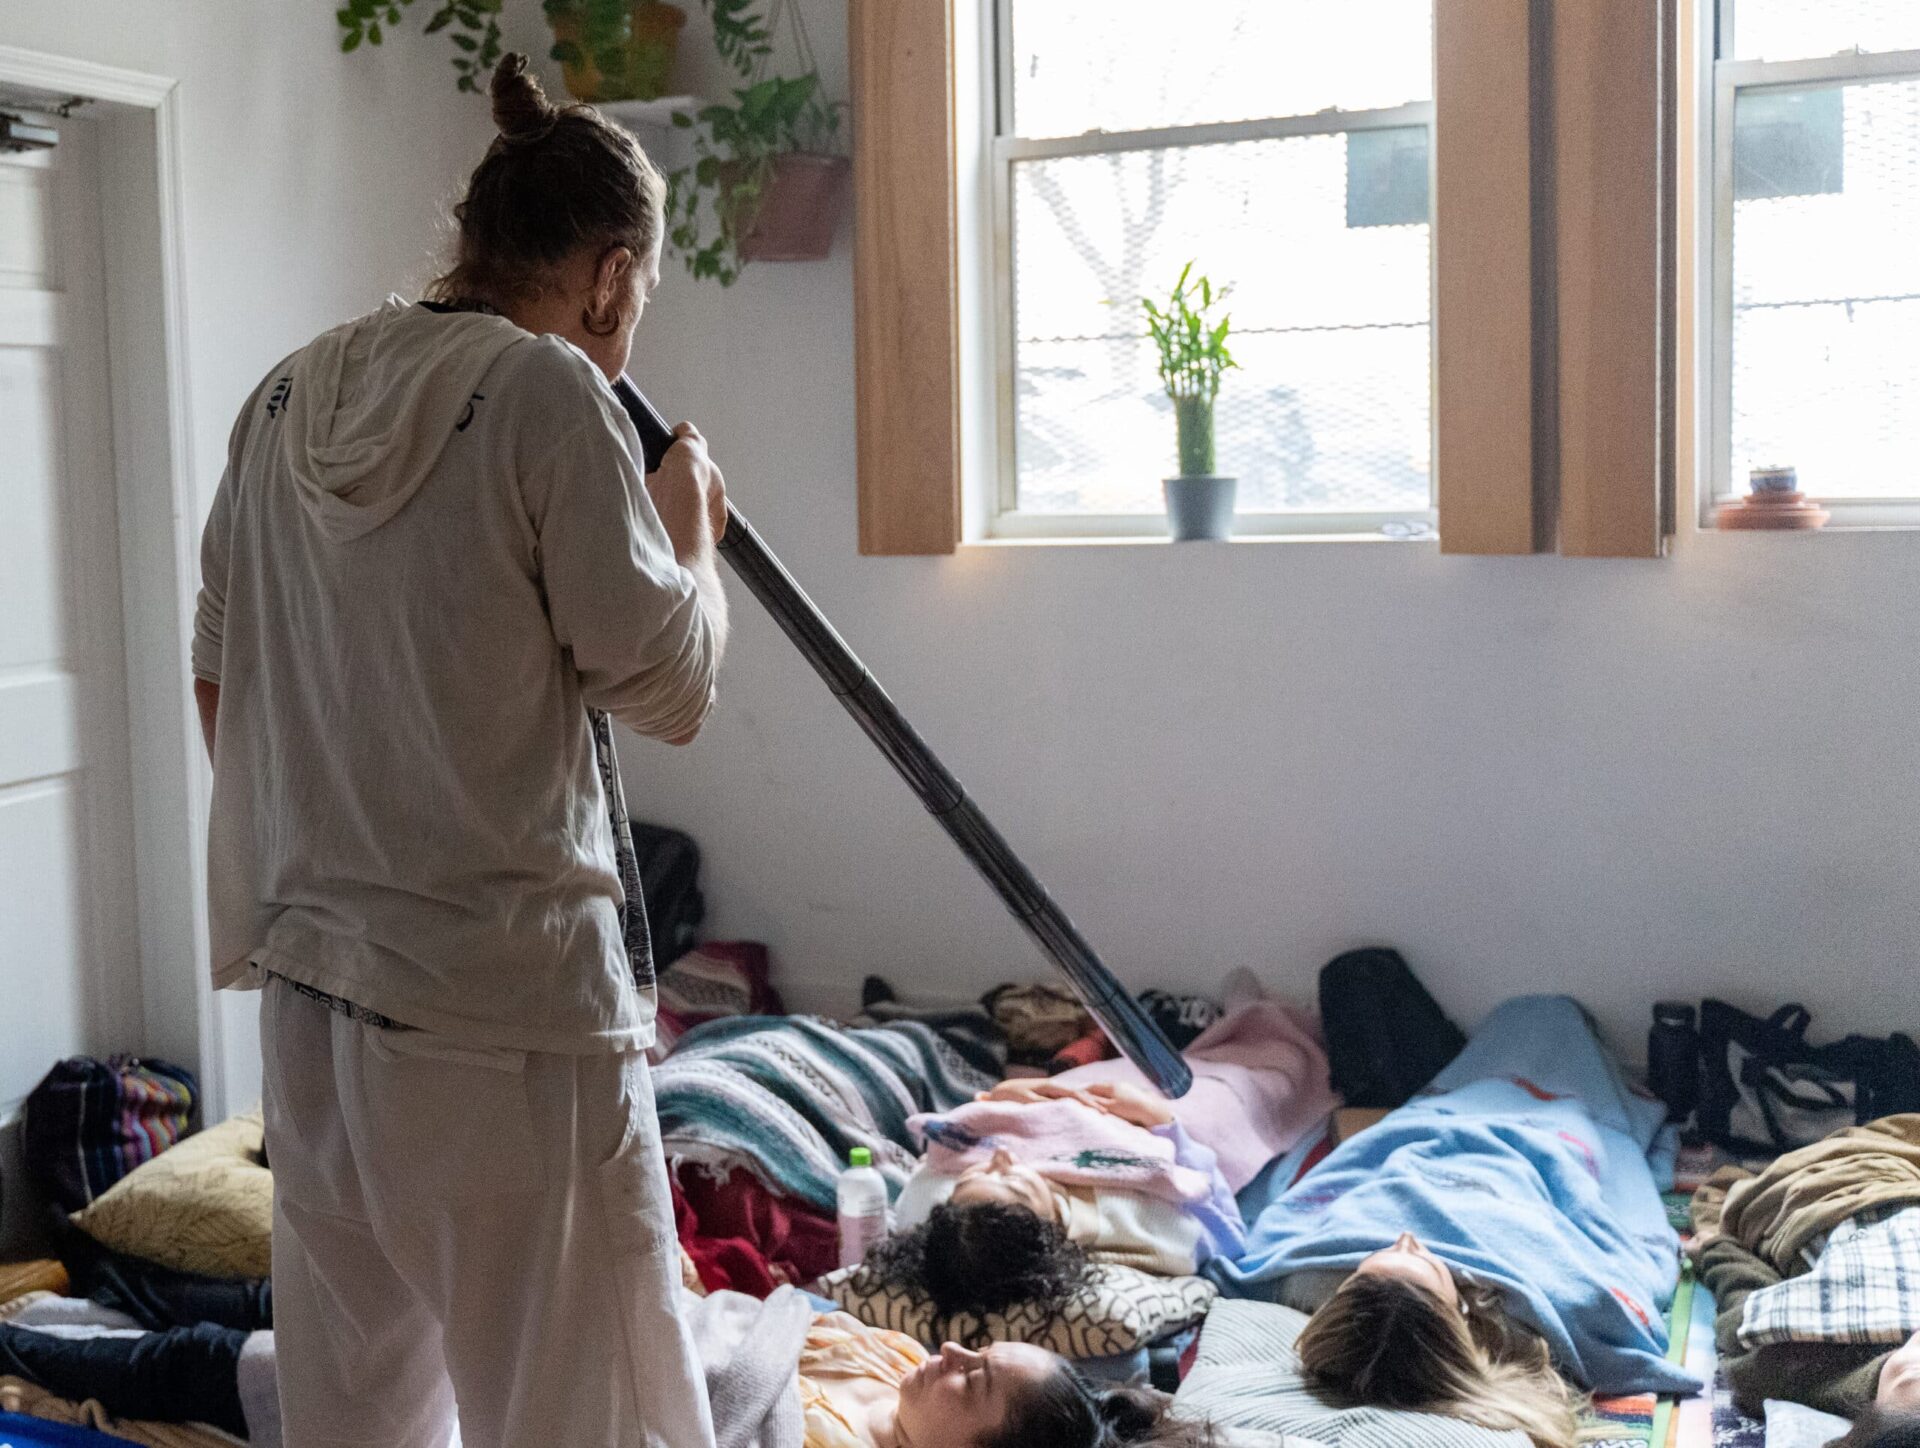
Using the Wayunki in Sound Healing
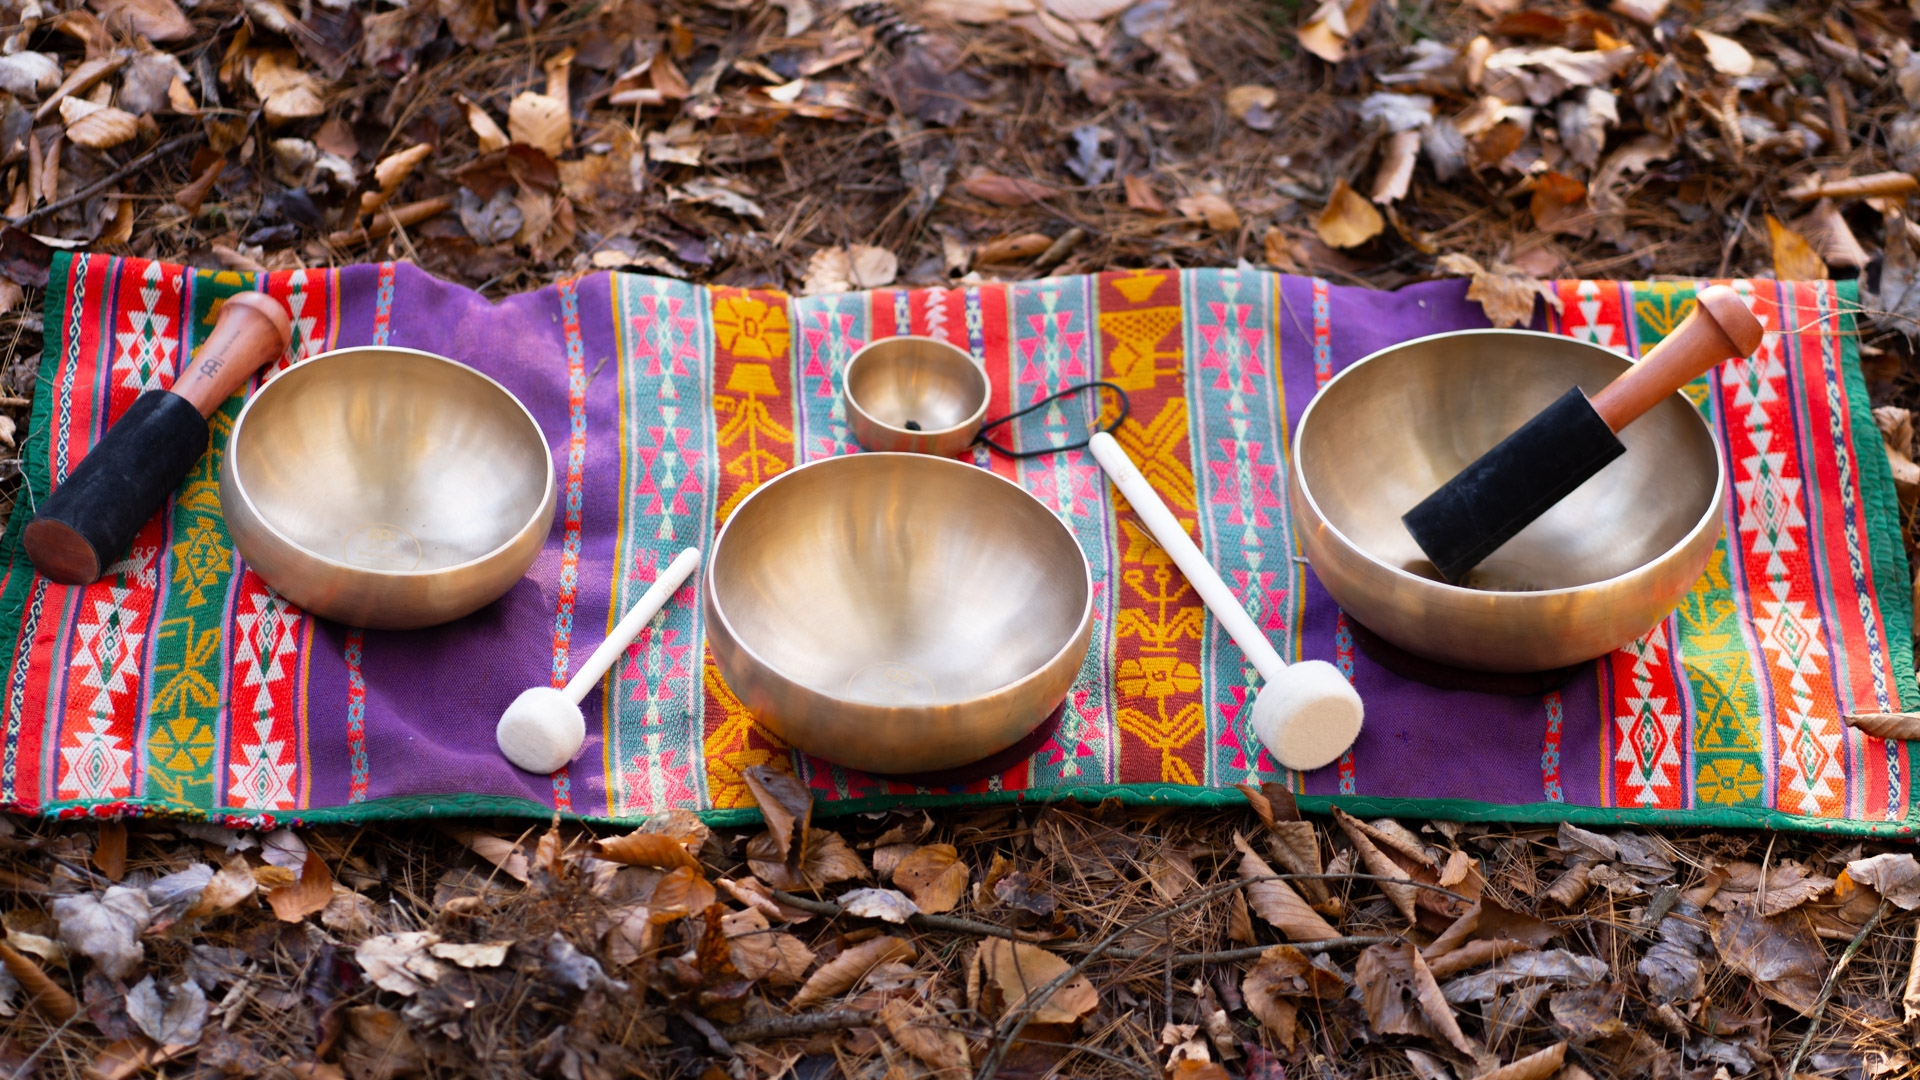
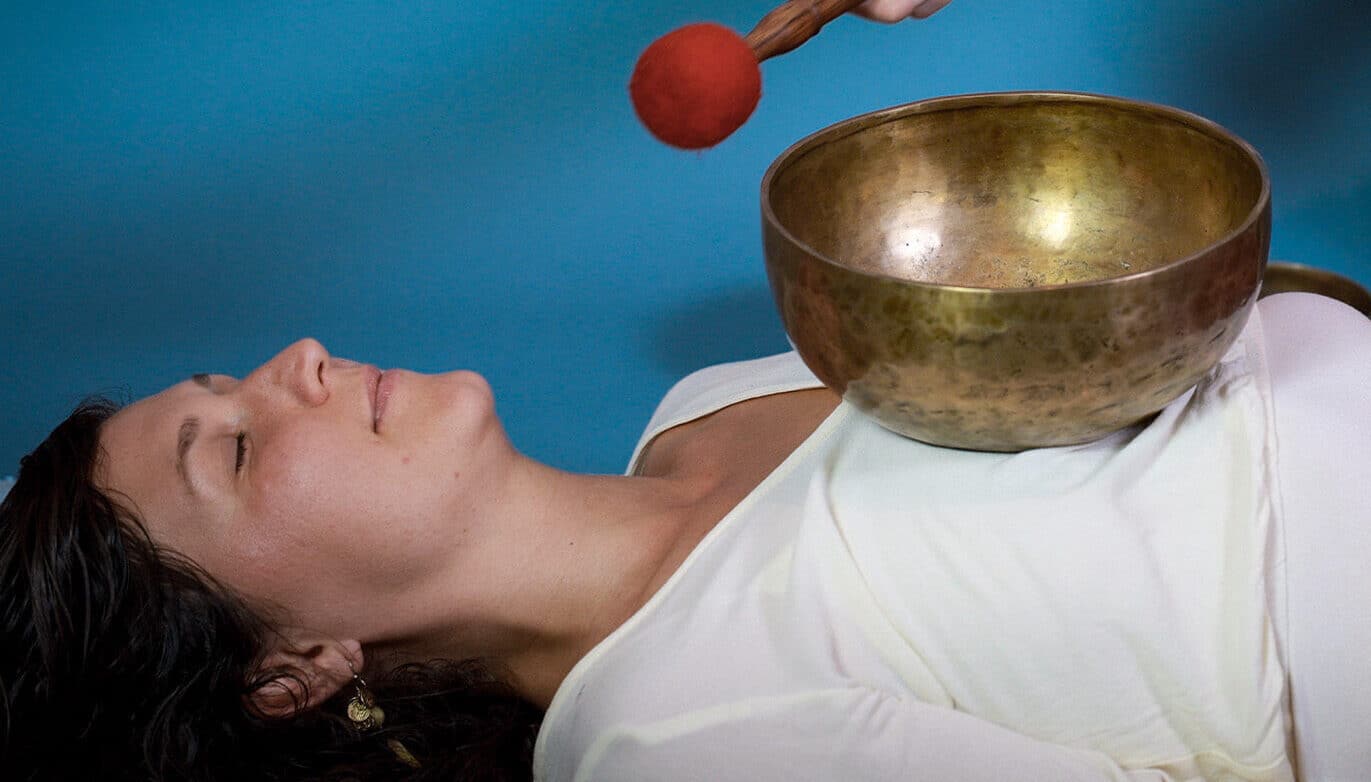
Many practitioners have incorporated the Wayunki into sound healing sessions because of its gentle, sustained harmonic character. Its evolving overtones naturally encourage focused listening and relaxation. Rather than overwhelming the listener, the instrument creates an atmosphere that supports meditation and inward attention. Some facilitators combine the Wayunki with crystal singing bowls, Himalayan bowls, gongs, drums, chimes, or didgeridoo to create richly layered sound journeys. Others use it as a featured solo instrument during quieter moments of a session. As with all sound healing instruments, experiences are highly individual and should not be interpreted as medical treatment or a substitute for professional healthcare. The Wayunki is best appreciated as a musical instrument that many people enjoy incorporating into contemplative, wellness, and creative practices.
Frequently Asked Questions
Is the Wayunki difficult to learn?
Not at all. Most people begin producing beautiful sounds within minutes. As your listening skills improve, you’ll naturally discover increasingly subtle overtone effects.
Do I need to know music theory?
No. The Wayunki is equally rewarding for experienced musicians and complete beginners. Each scale is designed so that you can strike the notes in any order, and you will always get a melodic phrase with no clashing notes.
Do I blow into the instrument?
No. The mouthpiece is used as a resonating chamber rather than as an air source. The instrument is played by striking the reeds while shaping the sound with the mouth.
Can children learn to play it?
Yes. With appropriate supervision, many children enjoy exploring the Wayunki’s sounds because it responds quickly and encourages experimentation.
Is every Wayunki the same?
Different tunings and configurations provide unique musical possibilities, making it enjoyable to own and combine multiple instruments. At the time of writing (July 2026) there are six scales currently available.
Why We Love the Wayunki at Didge Project
At Didge Project, our mission has always been to introduce people to instruments that inspire connection, creativity, and deep listening. The Wayunki embodies all of those qualities. It encourages exploration rather than perfection. It rewards listening rather than speed. It creates music that feels spacious, calming, and deeply expressive.
Whether you’re performing on stage, leading a meditation, facilitating a sound journey, recording ambient music, or simply relaxing at home, the Wayunki invites you into a completely different relationship with sound.
Experience the Wayunki
The best way to understand the Wayunki is to hear it—and even better, to play it.
Explore the available tunings, watch demonstration videos, and discover why musicians, sound healers, and meditators around the world continue to fall in love with this remarkable instrument. You are invited to come to our store in Ellenville, New York and try it out for yourself.
*Order here: Visit the Didge Project Wayunki collection today and find the instrument that resonates with you.
If you already own a Wayunki, we’d love to hear your story. How do you use it in your music, meditation, ceremonies, or sound practice? Share your experience in the comments below and inspire others to begin their own journey into the world of overtones.


?")
?")